How to secure your Squarespace website
There’s a LOT of chat these days about cyber threats, malware, phishing and hackers - and it can seem a little intimidating to the uninitiated. But fret not - in this post, I will walk you through the exact steps you need to take to protect both yourself and your site visitors by ensuring your Squarepace website is secure.
1. Turn on your SSL certificate
SSL is a method of encryption that makes sure information provided by website users (like email addresses, account login details, payment details for ecommerce transactions etc) cannot be intercepted, hacked or stolen by cyber attackers.
When you navigate to a secure website (a website that has SSL enabled) - you will see a little lock icon in the browser that confirms you have a secure connection. Squarespace automatically includes SSL certification for every domain registered with or transferred to Squarespace, so for most website owners you won’t need to do anything to turn SSL on on your Squarespace website.
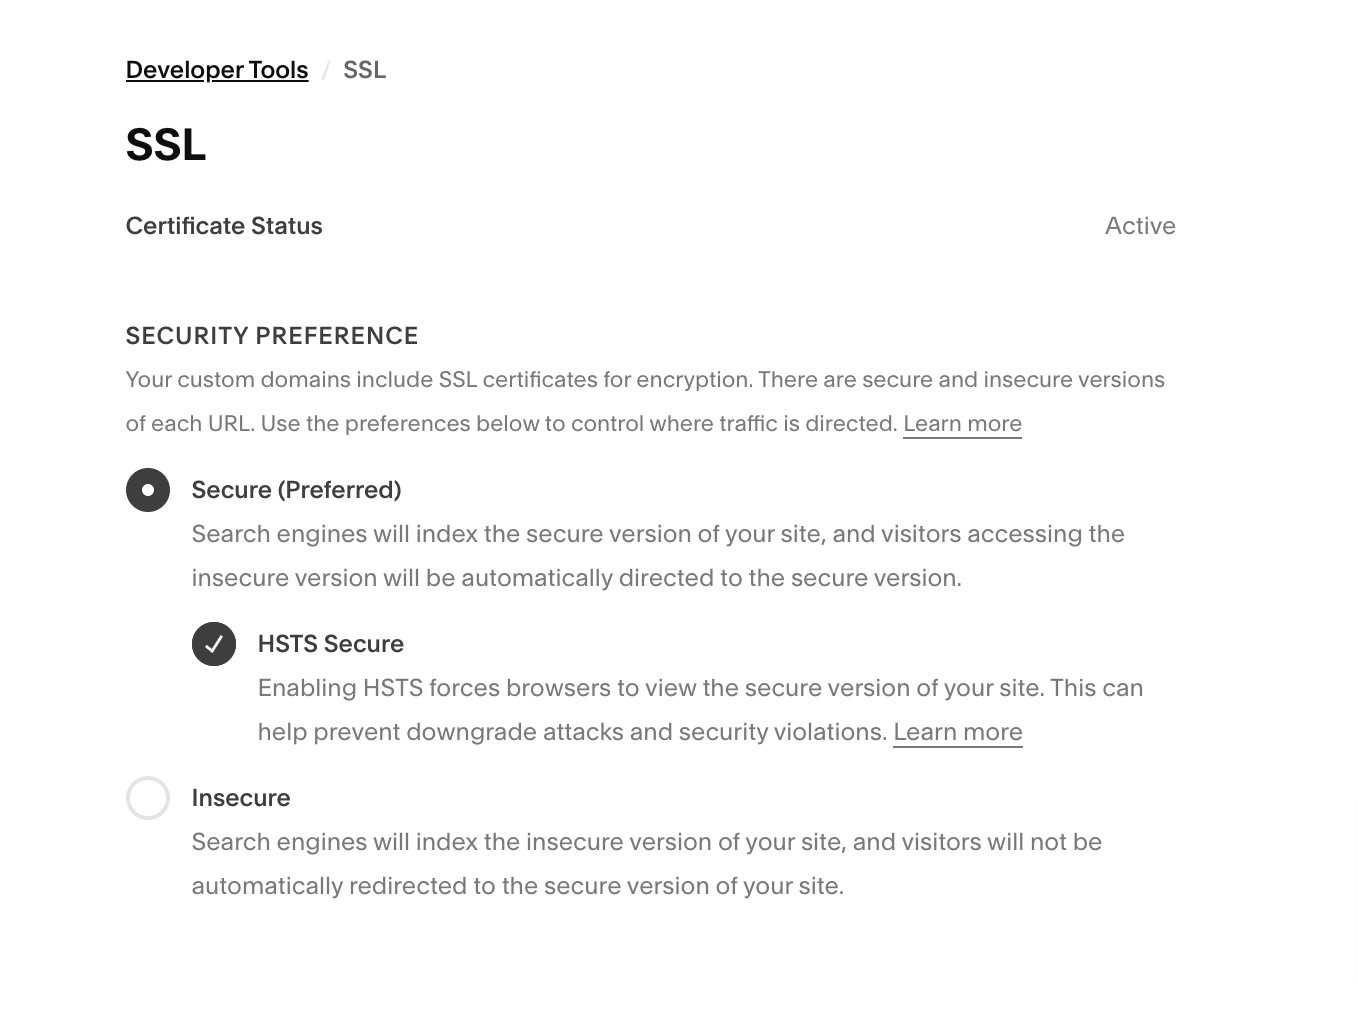
But for peace of mind - you can check to make sure yours is on by going to your Squarespace dashboard, and clicking on Settings - Developer Tools - SSL and just make sure it looks like the image below.
2. Use a strong password
Strong passwords help protect all your accounts from unintended and unauthorised access by rogue players, and your Squarespace account is no different. Make sure your password uses a combination of letters, numbers and special characters to enhance security. Avoid using repeated passwords across different accounts. Consider using a password manager, for generating and securely storing passwords - I personally like LastPass and would highly recommend it.
3. Control who has access to your Squarespace site
Manage access to the backend of your Squarespace site by restricting permissions and roles to trusted members of your team (if you have one) and trusted third parties (like your web designer). Use Squarespace’s built-in user roles and permissions features to grant different permission levels to users, like editors, contributors and administrators. I recommend you review your permissions frequently to ensure only the people who need access have it. It’s good practise to do this with all business-related online accounts, especially if your team changes quite frequently. To check and change permissions, go to Settings - Developer Tools - Permissions & Ownership.
Squarespace makes it pretty easy to safeguard your website, and as you can see from the steps above - there isn’t that much that you as the site owner have to do. But following the guidelines above will help you safeguard valuable data, protect your visitors information and uphold your online reputation. Lots of benefits for just a few minutes of your time.
If you have any questions, drop me a line and I’ll be happy to help!
You might like these additional posts about Squarespace optimisation & security

